
A Translator’s Twitter Header
There are so many tasks and activities in the daily To-Do-List of a freelance translator that sometimes certain things are neglected or our sourced in order to be able for all the daily tasks to be completed on time. Then again, the famous famine period experienced and dreaded by most freelancers is actually not only a period to rest or take a breather, but also it is time to get creative.
If you have not outsourced your project to a graphic designed to create all your business templates for your social networks, or there is no budget planned for it, you may customize backgrounds and headers yourself. Actually, it is not as difficult to create as you imagine, since Photoshop is very user-friendly and even I, a mare beginner of a user, can perform the basic steps needed. Your creations could be used both on Facebook as well as on Twitter. So, let get cracking!
All you need is a template (it was not possible to upload it, so please send me a comment with your email address and I will send it to you!), your logo and a background picture. As the header is the first thing your fans or potential clients going to see, your logo should dominate or be the central feature of your header.
This is what the template looks like

Picture 1.
Where the arrow points is the location of your profile picture on Twitter, it will cover whatever is in the background, so make sure that your logo is not placed there.
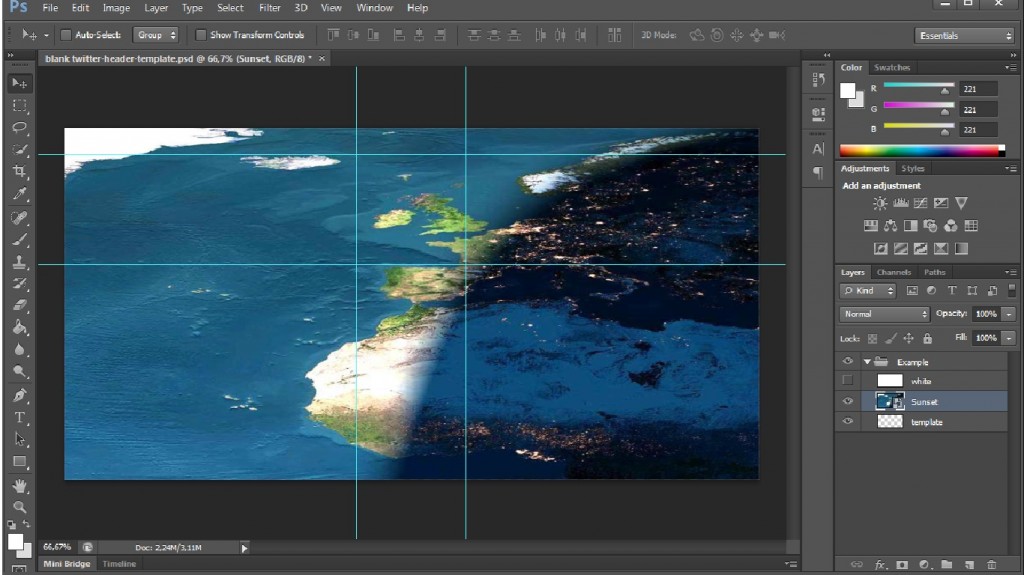
Open Windows Explorer and locate the picture of your choice that you wish to have as your back ground of your header. Click, drag and drop your picture on your Photoshop window. Depending on the site of the picture, a shape will appear on your Photoshop window (see Picture 2.).

Picture 2.
Drag the lines where the arrows point to cover all the white space and then from left hand side tool bar, Be careful for the picture not to go over the white space and onto the grey area). Click on the first icon (the icon with an arrow and a cross). This command will place your picture on the canvas. Click on Place when the pop-window is displayed. Then, from the Layers menu (lower half of the right hand side tool bar) unclick the icon resembling an eye next to the layer named “white”. Now, you can see your picture together with the marker lines of the template.
Picture 3.
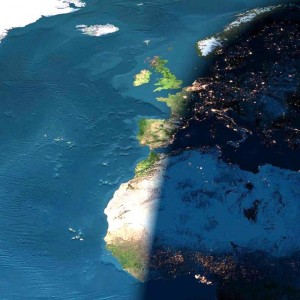
I chose the picture of a sunrise over Europe, so this is what it is displayed. Then, you want to go ahead and add your logo. Again, open Windows Explorer to locate your logo, click, drag and drop it on your Photoshop screen.
Picture 4.
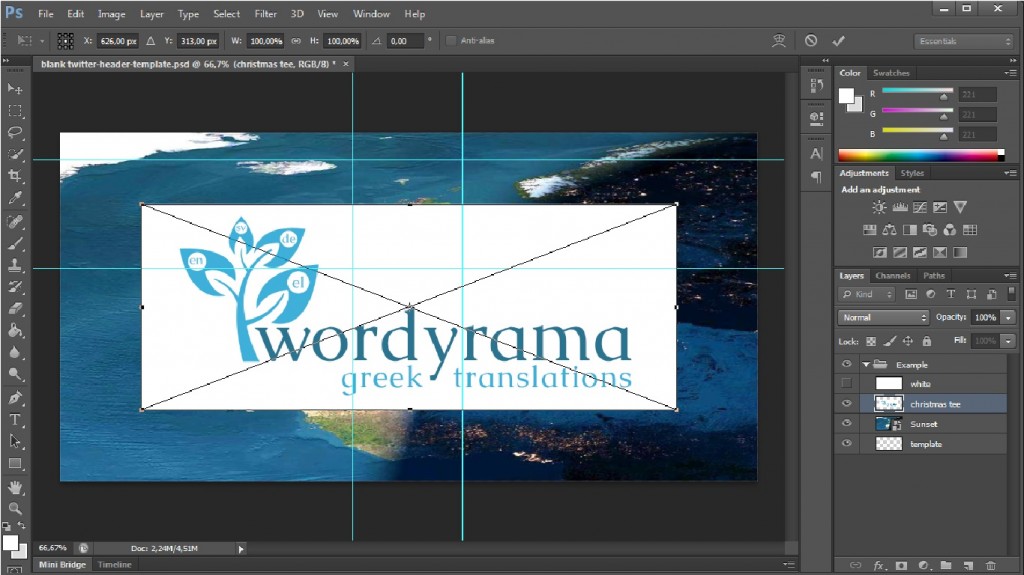
As before, you can adjust the size of your logo from any side of the picture and after your adjustment is of your desire, again click on the icon with the arrow and the cross of the top right hand side and click Place.

Picture 5.
Next step! From the Adjustment menu you can change the brightness and the contrast of the picture, you can even add filters. Click on the icon resembling a camera and play around the filters to find the best match for your picture. When you are done playing with all the extra features and the header is what you wanted, same the file as a PNG.
Log on your Twitter, go to the Settings area and under Profile, change your header!
C O N G R A T U L A T I O N S!